How to Install and Configure the Caddy Web Server on Rocky Linux

When you consider setting up a web server, Apache and/or NGINX probably come to mind. However, there's also the Caddy web server. Why Caddy? Well, it's free (like Apache and NGINX) and it's security-focused, with HTTP/2-enabled. It's also written in Go, so it's fast and portable. Caddy offers plenty of features, such as virtual host support and reverse proxy functionality. Plus, Caddy is one of the first web servers capable of automatically obtaining and renewing SSL/TLS certificates (using Let's Encrypt). That feature alone makes Caddy a worthwhile option for your web server needs.
Imagine deploying a website with SSL/TLS and never having to worry about renewing those certificates or missing an expiration date, which could cause your sites to be unreachable.
Let's find out how to install and configure this handy web server on Rocky Linux 9.
What you'll need
To follow along, you'll need a running instance of Rocky Linux 9 and a user with sudo privileges. That's it. Let's get to work.
Adding the required repository
The first thing to do is add the COPR (Cool Other Package Repo) repository. Log into Rocky Linux and open a terminal window. Once you've done that, install the repo with the command:
sudo dnf install 'dnf-command(copr)' -y
After installing COPR, you must then enable it with the command:
sudo dnf copr enable @caddy/caddy -y
When prompted, type "y" to continue with the enabling of COPR.
Finally, install Caddy with the command:
sudo dnf install caddy -y
The installation will be completed without error.
With Caddy installed, the service should already be running, which can be verified with:
sudo systemctl status caddy
It should be listed as active/running. If not, start the service with:
sudo systemctl start caddy
You can then enable it (so it starts upon server boot) with:
sudo systemctl enable caddy
With the service running, open a web browser and point it to http://SERVER (where SERVER is the IP address of the hosting server). You should see the Caddy Welcome Page (Figure 1).
Figure 1
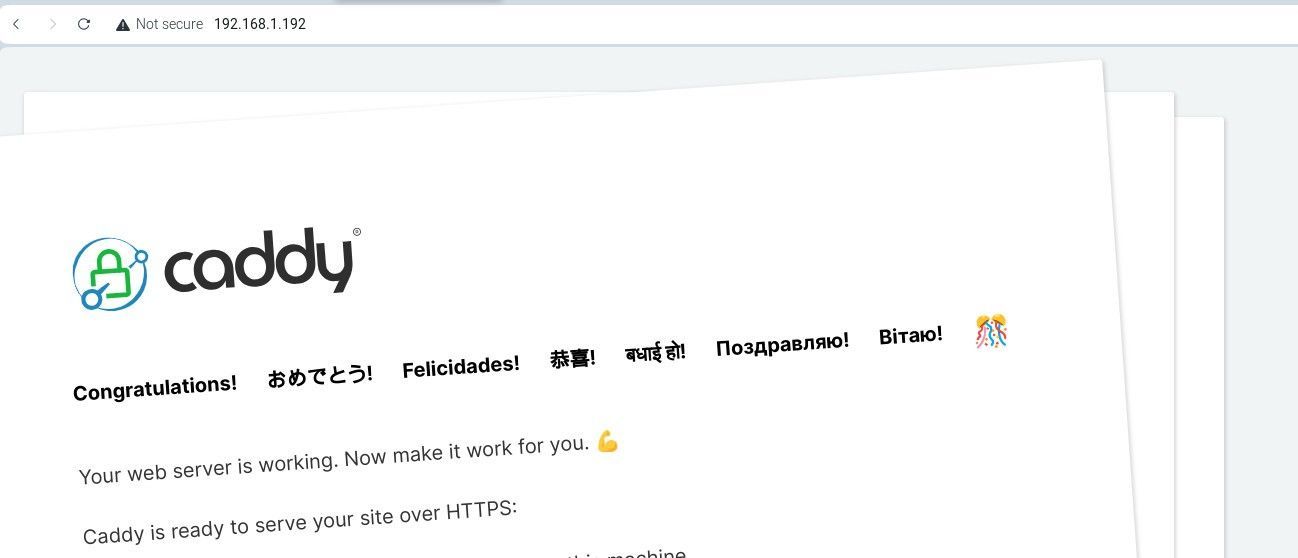
The Caddy welcome page informs us the server is successfully running.
Adding PHP support to Caddy It's very likely that you'll need PHP support for your Caddy websites. For that, you can install the necessary software with the command:
sudo dnf install php-fpm php-mysqlnd php-gd php-cli php-curl php-mbstring php-bcmath php-zip php-opcache php-xml php-json php-intl -y
After the installation completes, open the PHP configuration file with:
sudo nano /etc/php-fpm.d/www.conf
The first thing to do is change the user and group from Apache to Caddy, so it looks like this:
user = caddy

group = caddy
Finally, change the acl_users line to this:
listen.acl_users = apache,nginx,caddy
Save and close the file.
Start and enable PHP with the command:
sudo systemctl enable --now php-fpm
Creating a Caddyfile
Let's say you want to serve websites from outside of /var/www/html. Instead, you want those sites to be found in /srv/www/html. For that, you'll have to first create the folder with:
sudo mkdir -p /srv/www/html
Next, change the SELinux file security context with the following two commands:
sudo chcon -t httpd_sys_content_t /srv/www/html -R

sudo chcon -t httpd_sys_rw_content_t /srv/www/html -R
Next, we'll create a Caddyfile, which simplifies the configuration of your websites. Let's say you've taken care to point the FQDN to the hosting Caddy server and the domain is rocky.example.com. Make sure your domain's A/AAAA DNS records point to the machine's public IP address, so it should work as expected.
Open the Caddy file with the command:
sudo nano /etc/caddy/Caddyfile
That file is already configured to serve up localhost (or the server's private IP address) on port 80, which is done with only three lines of code:
:80 {

root * /usr/share/caddy

}
The above file routes any traffic on port 80 to serve the index.html file found in /usr/share/caddy. What we want to do is point our FQDN to /srv/www/html/. Here's the block of code you'll use:
rocky.example.com {

root * /srv/www/html

tls YOUR_EMAIL

file_server

encode gzip zstd

php_fastcgi unix//run/php-fpm/www.sock

}
YOUR_EMAIL is the email address you want associated with the free Let's Encrypt SSL certificate and where notifications for that will be sent.
Save and close the file.
Before you restart the server, copy the index.html file (so Caddy will have something to serve up until you add a site) with the command:
sudo cp /usr/share/caddy/index.html /srv/www/html/
Restart the service with:
sudo systemctl restart caddy
You should now be able to point your browser to either the server's IP address or the domain and see the Caddy welcome screen (now being served from /srv/www/html).
Congratulations, you've successfully deployed the Caddy web server on Rocky Linux 9. For more information about using Caddy, make sure to check out the official documentation.


