How to Install a Relational Database Server in Rocky Linux

Rocky Linux can be used for so many things, from hosting websites, container deployments, mail servers, development, DNS and/or DHCP servers, and of course, database servers. One type of database you can install and use is a relational database, which is used by so many applications (such as WordPress, Joomla, and Xoops). There are a number of relational databases you can install, but the most popular two are MySQL and MariaDB. Note that these databases are very similar—MariaDB was spun off ("forked") from MySQL when Oracle purchased MySQL.
Let’s walk through the process of installing MySQL on Rocky Linux, creating a database, and then adding tables and data. The process is much easier than you think. And although you can install web-based GUIs, such as phpMyAdmin, in this blog post, we’ll guide you through the process from the command line, so you can see how the sausage is made.
Requirements
The only things you'll need are a running instance of Rocky Linux and a user with sudo privileges. I'll demonstrate with Rocky Linux 9, which is the most recent version available at the time of writing.
That's it. Let's get to the installation.
Installing MySQL on Rocky Linux
The first thing we must do is install MySQL. To do this, log in to your Rocky Linux instance and open a terminal window. If you don't have local access to the server, you can SSH into it, and you're ready to go.
To install MySQL, issue the command:
sudo dnf install mysql-server -y
Once MySQL has been installed, you can start the service and ensure it automatically starts should you have to reboot the server with the command:
sudo systemctl enable --now mysqld
You can verify the service is running with the command:
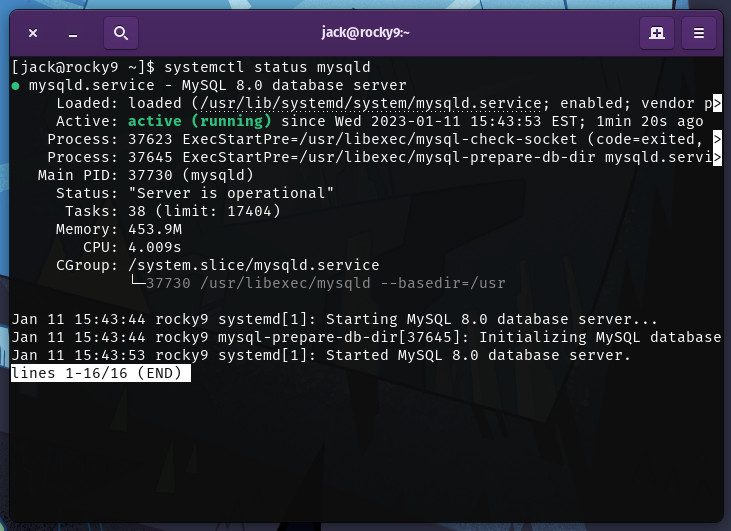
systemctl status mysqld
The output should indicate the database service is running (Figure 1).
Figure 1
MySQL is now running on Rocky Linux.
The next step is to secure the installation, which allows you to create a password for the MySQL root (admin) user. To do that, issue the command:
mysql_secure_installation
The first question is about the VALIDATE PASSWORD COMPONENT. If you enable this, all passwords must pass various security checks before they'll be accepted. If you want to enable this, type Y and hit Enter on your keyboard; otherwise press any other key. You will then be prompted to type and verify a new password for the root user. Make sure to type a strong/unique password.
Answer Y to the remaining questions and you'll find yourself back at the command prompt, ready to access the MySQL console.
Creating your first database
Log into the MySQL console with the command:
mysql -u root -p
You'll be prompted for the admin password you created above. Once authenticated, you'll find yourself on the MySQL console. Let's create our first database, named employees, with the command:
CREATE DATABASE employees;
Verify the database was created with the command:
SHOW DATABASES;
You should see something like this in the output:
+-----------------------------+
+-----------------------------+

| Database                    |

+-----------------------------+

| employees                   |

| information_schema          |

| mysql                       |

| performance_schema          |

| sys                         |

+-----------------------------+

5 rows in set (0.01 sec)
Creating a table in the database
With a relational database, data is saved in tables, which means we have to create a table. Before we create the table, we have to switch to our new database with the command:
USE employees;
Now, let's create a table called IT_staff, which can be done with the command:
CREATE TABLE IT_staff (id INT, fname VARCHAR(20), lname VARCHAR(20), email VARCHAR(20));
A few quick notes:
-
INT stands for Integer (numbers).
-
VARCHAR stands for variable characters (both numbers and alphanumeric).
-
20 is the limit for our values, but you can increase that to fit your needs, such as VARCHAR(30).
For our table, we've added the variables id, first name, last name, and email, which are used to populate the table with data. Let's say our first entry is ID: 001, Name is Olivia Nightingale, and Email is onightingale@example.com. To add that data to the table, the command would be:
INSERT INTO IT_staff (id, fname, lname, email) VALUES(001,"Olivia", "Nightingale", "olivia@example.com");
You can verify the data was entered with the command:
SELECT * FROM IT_staff;
The output should look something like this:
+------+--------+-------------+------------------------------+
| id   | fname  | lname       | email                        |

+------+--------+-------------+------------------------------+

|    1 | Olivia | Nightingale | olivia@example.com           |

+------+--------+-------------+------------------------------+
You've just added your first data to the new table. Exit the MySQL console with the command:
exit
Creating a new MySQL user
This is a very important skill to know. When you install a platform like WordPress, you'll need to have a database with a user that has permission to access the database. You don't want to use the root user for this because it can be a security problem.
Let's stick with the WordPress example. Say you want to create a database named wordpressdb and a user named wordpressuser that will be used during the WordPress installation.
Log back into the MySQL console with the command:
mysql -u root -p
We already know how to create the database, with the command:
CREATE DATABASE wordpressdb;
Create the user with the command:
CREATE USER 'wordpressuser'@'localhost' IDENTIFIED BY 'PASSWORD';
Where PASSWORD is a strong/unique password.
Next, we need to give the new user access to the database with the command:
GRANT ALL PRIVILEGES ON wordpressdb.* TO 'wordpressuser'@'localhost';
Finally, flush the privileges table with:
FLUSH PRIVILEGES;
You can now exit the MySQL console with:
exit
At this point, you have a WordPress database created with a user who has access to the database. When you go to install WordPress, you'd use wordpressdb as the database name, wordpressuser as the user, and the password you created in the CREATE USER command.
Congratulations, you now have a working MySQL database server running on Rocky Linux!


