How to install and use the Cockpit desktop client

Cockpit is a web-based admin tool that allows you to manage several aspects of your Rocky Linux server, such as logs, storage, networking, Podman containers, accounts, services, and more. Typically, you access Cockpit via a web browser, where you can then administer your server from within a tab.
However, not everyone wants everything relegated to just another web browser tab. You might prefer such tools to have their own application. Of course, you could always use Chrome and create a web app via the Save and Share > Install menu option. This will create a launcher in your desktop menu and, when you open the new web app it will do so in a minimal window.
But not everyone uses Chrome or wants to go this route.
If you'd prefer to have an actual application for accessing all of your Cockpit instances, you're in luck, as such an application exists and it's very easy to install and use.
The app in question is called Cockpit Client and manages your Cockpit connections via SSH so they're secure and reliable. Once installed, you can connect to any host that has the Cockpit service running. The only caveat is the remote Cockpit server has one requirement to be added.
Let's get to the installation.
What you'll need
To use Cockpit Client, you'll need a Linux desktop distribution that supports Flatpak. You'll also need a Rocky Linux server with Cockpit enabled (which is done with the command sudo systemctl enable --now cockpit.socket) and Python installed (which should be included by default). If you find Python isn't included on your Rocky Linux instance (you can check with the command python --version), you can install it with:
sudo dnf install python3 -y
With all of this taken care of, you're ready to install Cockpit Client.
Installing Cockpit Client
Make sure Flatpak is installed on your desktop machine with the command:
flatpak --version
You should see something like this in the output:
Flatpak 1.14.4
Flatpak is typically automatically installed with a Rocky Linux desktop environment; but if you need to, you can install it with:
sudo dnf install flatpak -y
After the installation, you'll need to add the Flathub repository with:
flatpak remote-add --if-not-exists flathub https://dl.flathub.org/repo/flathub.flatpakrepo
After that, reboot your desktop and you can then install Cockpit Client with:
flatpak install flathub org.cockpit_project.CockpitClient
Make sure to answer y for the questions. When the installation completes, you should find Cockpit Client in your desktop menu.
Connecting to your server
When Cockpit Client opens (Figure 1), type the IP address (or domain name) of your Rocky Linux server in the address field (without the port number) and hit enter.
Figure 1
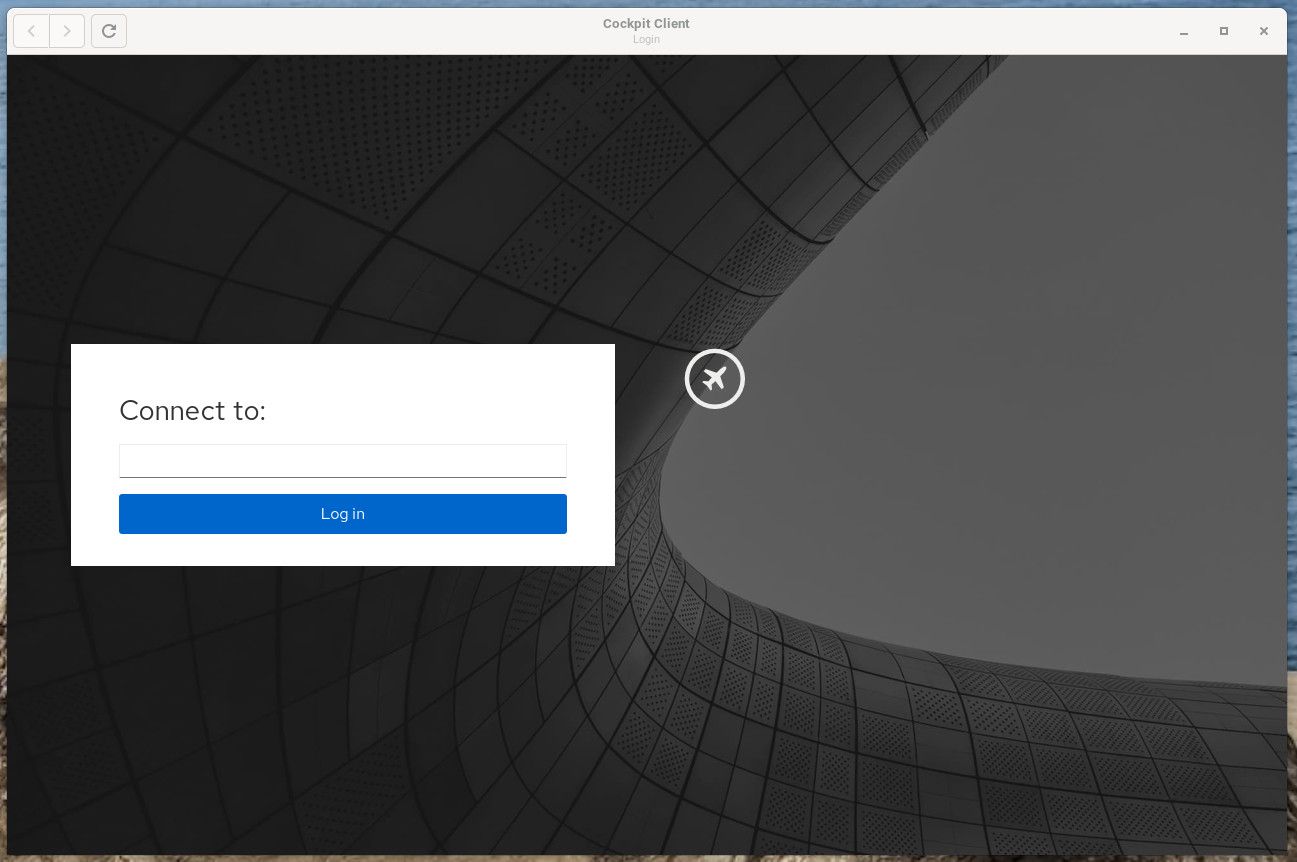
You will then be prompted for your user password. Do note, if you have a different username on your Rocky Linux server than on your local machine, the address you type in the field will be in the form of username@server (where username is your remote username and server is the IP address or domain of the Rocky Linux machine).
Since this uses SSH, it will also work with SSH key authentication for a more secure connection.
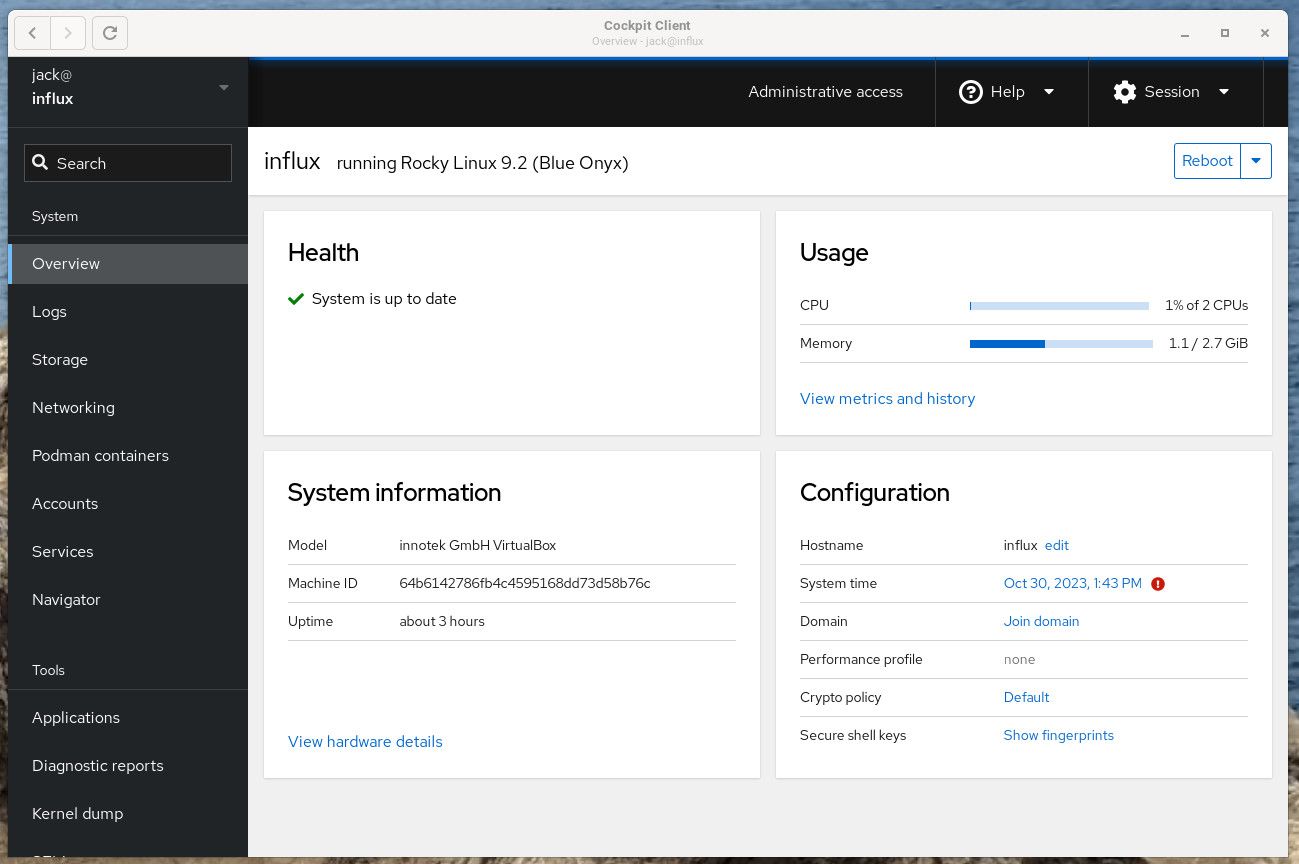
Once connected, you'll find Cockpit Client looks and behaves exactly as the web version (Figure 2), only it's in an isolated window and is capable of working with SSH key authentication.
Figure 2
Give this app a try and see if it doesn't become your default for connecting to your Rocky Linux Cockpit admin tool.


